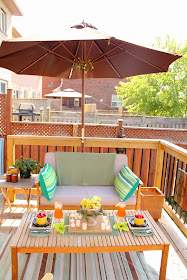
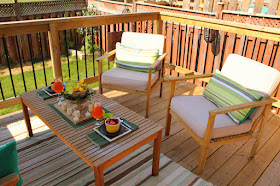
We have a very tiny backyard, but we've tried to make the best of what we have to work with. Last year we expanded our deck and this year we've been focusing on making it an inviting space.
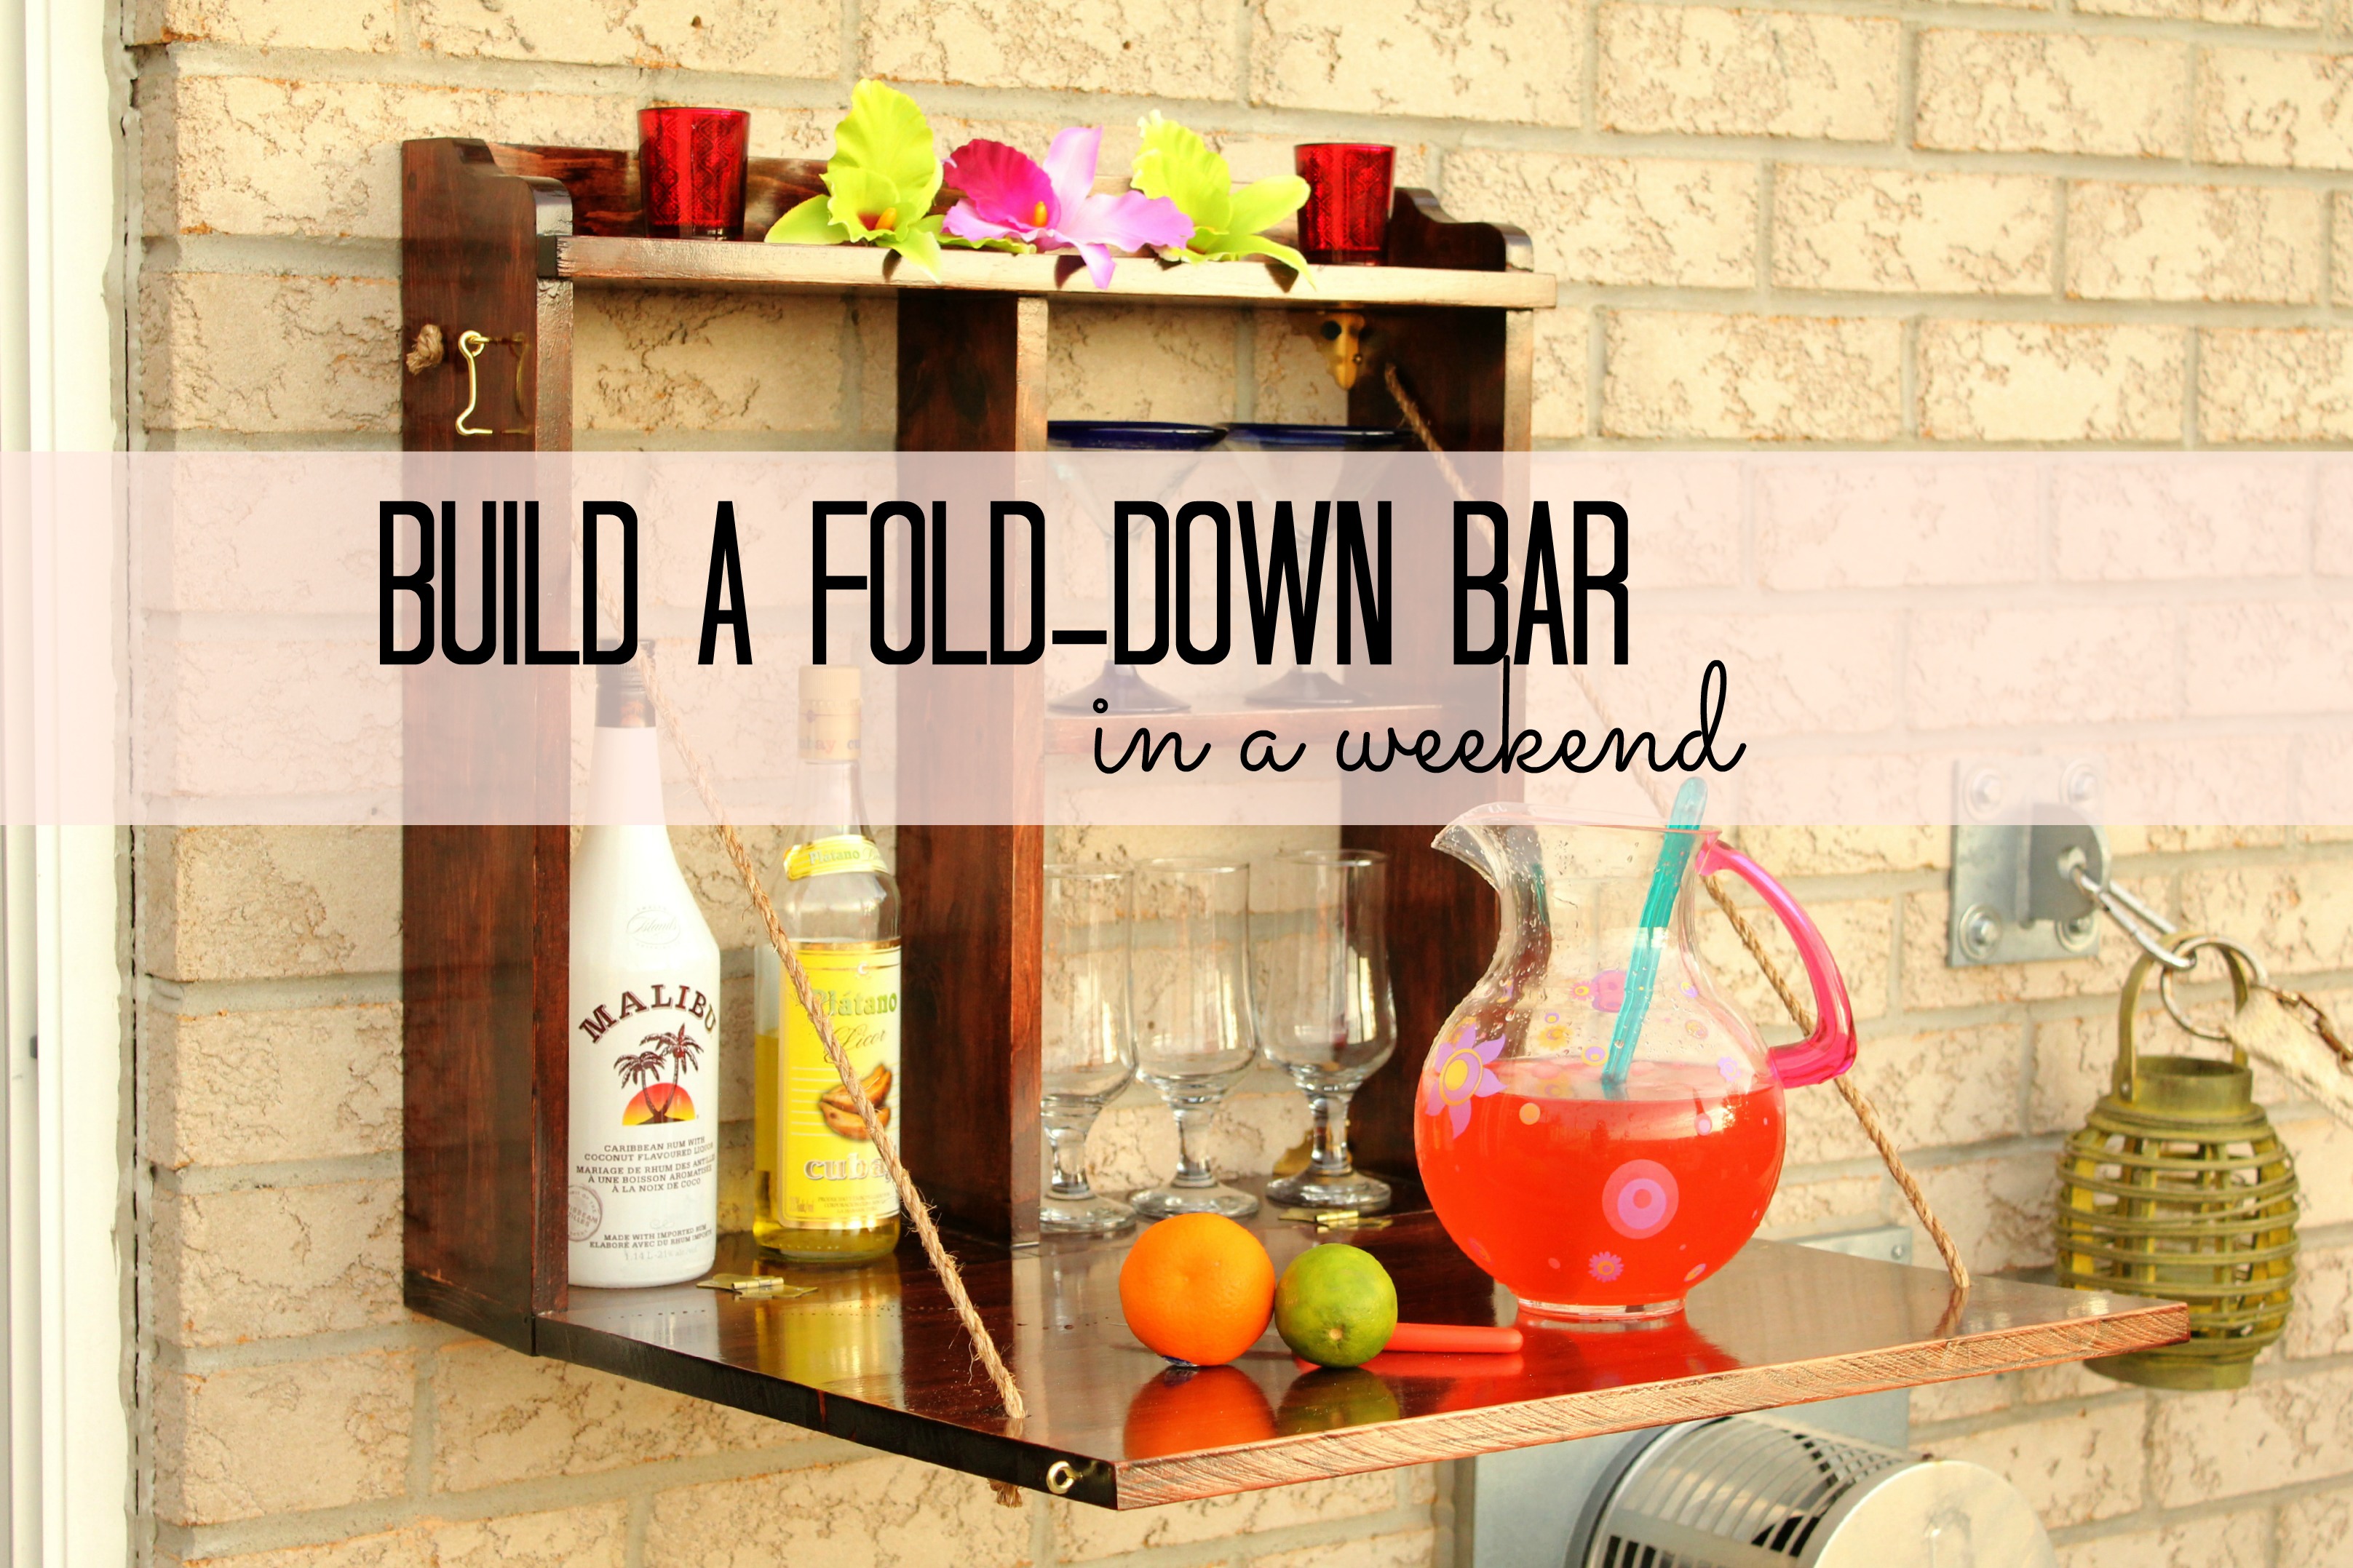
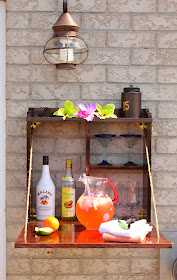
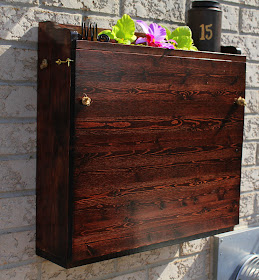
The last couple of weekends have been spent building a compact, fold-down bar. One weekend to build and stain it, the second to give it a few coats of poly. This weekend we finally were able to hang it up and put it to use.
Just in time for summer, Sherry from Young House Love and Katie from Bower Power are challenging all of us in blogland to get going on some of the projects we've pinned on Pinterest. I thought our outdoor bar would be the perfect thing since we've been wanting to make it for so long.
This edition is also being hosted by Kate at Centsational Girl and Michelle at Ten June. Head on over to all four sites to see what everyone has come up with and to add your own project.
Now back to our backyard bar........
Ours is built of pine, stained Minwax red mahogany, and I gave it three coats of polyurethane to protect it from the Canadian weather (Update: it's already been rained on several times and is holding up great!)
Here is a simplified picture of the pieces you'll need. The frame is made of 1" x 6" pine select and the fold-down shelf is a cut down 20" pine shelf.
The side pieces are 22 inches long at the back. Tom routered a curve into the top so it is slightly shorter at the front. He cut a slot (dado joint) into each side board about two inches down so that the top shelf could slide into it and have more strength.
The top shelf is 24 inches wide at the front. The shelf has a cut out on each side so that it fits into the slot, but there is an overhang at the front so that the edge of the shelf is flush with the sides. The board ends up being a wide, upside-down T-shape.
The upright board at the back of the top shelf is 3 inches deep by 22 inches long and drops in behind the shelf.
The interior vertical piece and shelf are slightly shallower than the outer boards so that the rope can hang freely inside and not get caught up when we close the door. The vertical board is 19 inches long, and the shelf is 10 inches long. The bottom board is 24 inches long. All of the boards are joined together with counter-sunk screws, and the holes were then puttied.
We also used brass hinges to attach the fold-down shelf to the base.
The fold-down shelf is 19" x 24". When folded up, this board ends an inch before the bottom shelf because, when it's folded out, it has to meet that bottom shelf in a way that keeps it flush.
We used sisal rope to suspend the shelf when it's open instead of chain as in the original. The side ropes keep the shelf from dropping below horizontal and puts less stress on the hinges. We drilled holes in the fold-out shelf and in the bar sides near the top, fed the rope through the holes, and tied each end in a knot to keep it in place. A tip: if you tape off the end of the rope first, it's easier to feed through the hole.
Update: Our bar has a name! Go here to see what we painted on the outside.
There's space on one side for bottles (alcoholic or otherwise) and shelves on the other side for glasses. We're a little partial to coconut rum and banana liquor. That bottle came home with us from our last trip to Cuba.
Update 2: Ana White has added these plans to her building website, so go on over there to see other versions as well.
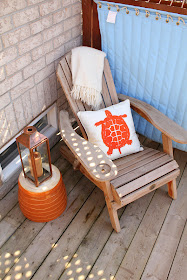
Meanwhile, over on the other side of the deck...
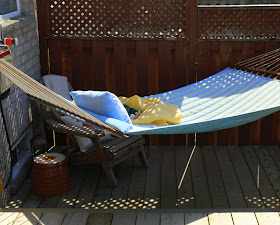
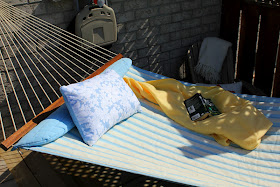
When the chair is not in use we also use this area for hanging out in the hammock. Perfect for reading or just taking a nap. It's nice to be able to step down from the upper deck right into the hammock. (Notice another tea towel pillow? Yep, it got out of hand.)
And we're not the only ones who like to spend time there.
Bring on summer!










Great space! That is what you have in your back patio! I love the entire setup and the bar is so cute!
ReplyDeleteI am your newest follower. Please feel free to check out my blog as well - jamscorner.blogspot.com
Love your new bar, Barb!!! Your entire outdoor space is great. Megan
ReplyDeleteWow! That looks like top notch vacation rental outdoor living space. Great job. You have inspired me to do something with my small patio!
ReplyDeleteWhat a super little get away. Everything is colorful and cute. A little oasis. Love the bar. Great job. winks, jen-COM
ReplyDeleteI love this!!!! Your whole patio and everything look soo pretty! Sending many Hugs! xx Holly
ReplyDeletewell you sure have a lovely outdoor space there and the bar looks great. i like your blog...YOU HAVE DOGS...what more can i ask for?im following!!
ReplyDeletehttp://welcometomylovelymess.blogspot.gr
Your hanging bar is too cute. What a great way to maximize your space! Your new seating areas look so inviting and comfortable.
ReplyDeleteI'm happy to be a new follower and hope you'll stop by, Mary Alice
This turned out great ! love it :)
ReplyDeleteYour newest follower, Francine
I also pinned this over the winter, with every intention of making one, but I still haven't got around to it.
ReplyDeleteYour tips will help when I make mine. It looks fantastic.
Gorgeous! I love it!
ReplyDeleteWhat a fantastic outdoor area! I love that mini bar :)
ReplyDeleteI love it! It's the perfect place for entertaining... Thanks so much for sharing! Have a great week!!-heather
ReplyDeletestringtownhome
creative idea!
ReplyDeleteThis is great! We just built a pergola in our backyard, this would be perfect out there.
ReplyDeleteLove LOVE this post, please link it with me tomorrow at Wow Us Wednesday!
ReplyDeleteThat's a great idea for a bar and your patio looks beautiful!
ReplyDeleteI love it and all your fun summer accents.
ReplyDeleteVisiting from My Uncommon Slice of Suburbia.
Katie- Let's Add Sprinkles
What an awesome idea! Love it!I would love for you to share this (and any other creations) at Pin It and Win It Wednesday @ www.cheapcraftymama.com!
ReplyDeleteit is getting comfy on that deck/patio of yours! fun! well done. interestingly, i spotted that same buffet as something good. thank you for linking it up at our party at http://www.finecraftguild.com
ReplyDeleteLove the bar! It looks great open or closed! What a great space saver. Thanks for sharing at SaltTree's Open Call Tuesdays!
ReplyDeletehttp://www.salttree.net/2012/06/open-call-tuesday-9-pyp-giveaway.html
It may be small but you have made excellent use of the space and it's very welcoming! Thanks for sharing!
ReplyDeleteI'm defiantly installing one of those when I get my backyard done. Your deck looks lovely. Must be so nice enjoying drinks with friends there. Or reading a book under the sun. Ah! I need to get my backyard done. :/
ReplyDeleteThis is awesome!! I think we need to make one of these so we are more likely to hang out in our back yard! Totally pinning this.
ReplyDeleteThis is such a great idea! Thanks for sharing at Terrific Tuesdays.
ReplyDeleteRachel
adventuresofadiymom.blogspot.com
Oooh! I love this! We've been looking for ideas for bar storage on our patio too...this is a great idea! Pinning away....
ReplyDeleteGreat idea, love how it turned out!
ReplyDeleteTania
totally love that mini-bar! you've definitely accomplished the goal of making your backyard inviting :o)
ReplyDeleteOh wow, Barb! What an amazing backyard and LOVE the mini bar! Beautiful work! Thanks so much for sharing - I'm going to include a link back in this week's DIY highlights. :)
ReplyDeleteCute idea!
ReplyDeleteYour outdoor space is so inviting and that bar is AWESOME! Amazingly compact and useful and beautiful. Thanks for linking up at I Gotta Create! Very inspiring!
ReplyDelete<3 Christina
This is such a fantastic idea! I just love that you can open and close the bar! You guys are so clever.. and your deck looks amazing! Thanks so much for sharing with the Pink hippo Party.. can't wait to see what you share next!
ReplyDeletexoxo
Amie @ Pinkapotamus
That is awesome! I want one! Your deck is amazing! Looks so inviting and comfortable! Thanks for sharing at the Pomp Party! Pinning to our Pomp Party board!
ReplyDeleteJill @ Create.Craft.Love.
Such a fun project!! I'm sure you will have lots of fabulous summer memories spent on your patio. Thanks so much for coming out to the party at Clean and Scentsible. I'll be featuring this today!
ReplyDeleteJenn :)
Thanks Jenn!
ReplyDeleteThank you!
ReplyDeleteThank you!
ReplyDeleteThank you so much!
ReplyDeleteThank you!
ReplyDeleteThanks!
ReplyDeleteThanks! I'd love to see how yours turns out!
ReplyDeleteThanks!
ReplyDeleteMaybe I should host a backyard bar linky party so everyone can show off what they've done!
ReplyDeleteThank you! We are definitely using it more now.
ReplyDeleteThank you!
ReplyDeleteThank you!
ReplyDeleteThank you!
ReplyDeleteThanks!
ReplyDeleteThanks!
ReplyDeleteI`d love to see it when it`s done!
ReplyDeleteThanks!
ReplyDeleteThank you!
ReplyDeleteI`m the same - you have dogs then I love your blog! :-)
ReplyDeleteThank you!
ReplyDeleteThanks Megan!
ReplyDeleteAwesome. I just had to feature it this week on BeColorful.
ReplyDeletep
Barb-
ReplyDeleteLove this! {esp on the days I could use a drink at 2 pm...lol...}
I love that the minibar can be hidden from view when not in use. Thanks for sharing last week. I featured your post tonight and shared it at Pinterest.
xoxo
Nicolette
That looks awesome! I love when a long-awaiting for project finally gets finished - great job. Very cool idea and it came out beautifully. Your space also looks amazing. Thanks for linking up this week!
ReplyDeleteStacey of Embracing Change
Too freakin' awesome Barb! Featuring you tomorrow! Thanks so much for sharing at Mom On Timeout!
ReplyDeleteWhat a gorgeous looking space Barb. So inviting. I tell ya, I could do with some warmth and sunshine at the moment. Cold and rainy here in Australia at the moment. Am over winter already! Thanks for linking up at Thriving on Thursday. I've featured you this idea this week.
ReplyDeleteAnne xx
Ok, this is AWESOME and I had also pinned it (but didn't get any further) so cool to see it in action; Thanks so very much for sharing at our Pin'inspiration Party last week. You'll be a feature this week C:
ReplyDeleteI LOVE this! Thanks for sharing - spotted you at Mom on Timeout. Pinning this!
ReplyDeleteI am loving this! And it is definitely 5 o'clock somewhere! :) I featured your post at my Unveil Your Genius link party! http://taylornorris.blogspot.com/2012/06/unveil-your-genius-link-party-17.html
ReplyDeleteI hope you'll link up again soon! :)
We are so glad that you linked up to our "Strut Your Stuff Saturday". Please come back again really soon! Thanks! -The Sisters
ReplyDeleteThanks so much for sharing at Fabulous Friday! I featured you.
ReplyDeleteI am your latest follower! Your pictures are terrific, I feel like I'm right there...Thank you so much for some great ideas!
ReplyDeleteThanks,
Fern
Thanks,
~Fern
Fern Smith’s Classroom Ideas!
Fern Smith’s Pinterest Boards!
I love this idea! I actually found one of these at Goodwill and didn't buy it because I wasn't sure I had room for it! But now I'm mad at myself!!! Thanks for linkin up!
ReplyDeleteKim~madeinaday
But now you can make one, right? :-)
ReplyDeleteThanks Kelly!
ReplyDeleteThank you!
ReplyDeleteThank you! Yes, I'm loving the heat - winter is way too long!
ReplyDeleteThanks Trish!
ReplyDeleteThanks Nicolette!
ReplyDeleteWhat a great idea! I love your compact drink center!! Smarty Pants! lol. Thank you for sharing this at my Make it Pretty Monday party at The Dedicated House. Hope to see you again on Monday. Toodles, Kathryn at TheDedicatedHouse
ReplyDeleteI want to come party on your deck! Gorgeous. :)
ReplyDeleteThat is such an amazing idea! Thank you so much for linking up!
ReplyDelete...And I'm pinning you on my "pretty porches" board!
ReplyDeleteI'll have to check it out - I love looking at other people's porches.
ReplyDeleteThanks!
ReplyDeleteAwww, thanks! Come on over!
ReplyDeleteThank you for hosting!
ReplyDeleteAlright, I'll be over this weekend for a drink on you lovely deck ;) It looks so nice and relaxing! And of course the compact bar is an awesome addition :) I need one of those, my sitting area is super small. Although I also need patio furniture since our dog decided to eat ours. You did a really great job!!
ReplyDeleteSure, come on over! Our dog ate a chunk of our couch so I know what you mean!
ReplyDeleteLet me know if you do - I'd love to see it!
ReplyDeletehvvpp3ql
ReplyDeleteqhg3xvkr
f39s020t9d
ixizbibv
t031cfff
I love me a good bar space! Perfect! I will be featuring your post tomorrow for a link party round up! I am so going to make this!
ReplyDeleteThank you! I can't wait to see your version!
ReplyDeleteI love these pics! So bright and summer-y! Love the idea of a fold up bar!
ReplyDeleteMy only comment is that you may want to consider a lightweight chain or wire instead of the ropes. That's a fair amount of weight, and the sisal may degrade in the sunlight and weather. I'm going to go with brass and barnwood so I get some of that nice weathering. Thanks for the great idea!
ReplyDeleteYes, the rope is also starting to look a little mildewed, so we might switch to a chain. Barnwood sounds beautiful. Good luck!
ReplyDeleteBài viết rất hay, cảm ơn bài viết của bạn, mời bạn tham khảo thông tin >>> NIỀNG RĂNG CÓ TÁC DỤNG RA SAO? ?
ReplyDeleteUsing top-of-the-line products is one of the keys to having a job that lasts a lifetime. When we construct your decks in Calgary, we only work with high-quality fasteners, lumber, and composite materials. This kind of investment should be cherished for many years. Only the most skilled carpenters are employed by My Home Handyman to construct your deck. Due to their extensive experience, they guarantee that the project will be done correctly the first time.
ReplyDelete